Project Management
Earth Studio animations are called "projects." Each project has its own timeline and settings. Projects can be accessed via the internal file browser, or downloaded and shared using the external Earth Studio Project file format (.esp).
Project Settings
After creating a new project, you can adjust any of its settings on the fly with the Project Settings dialog. Access the Project Settings through the File menu, or with ⌘P.
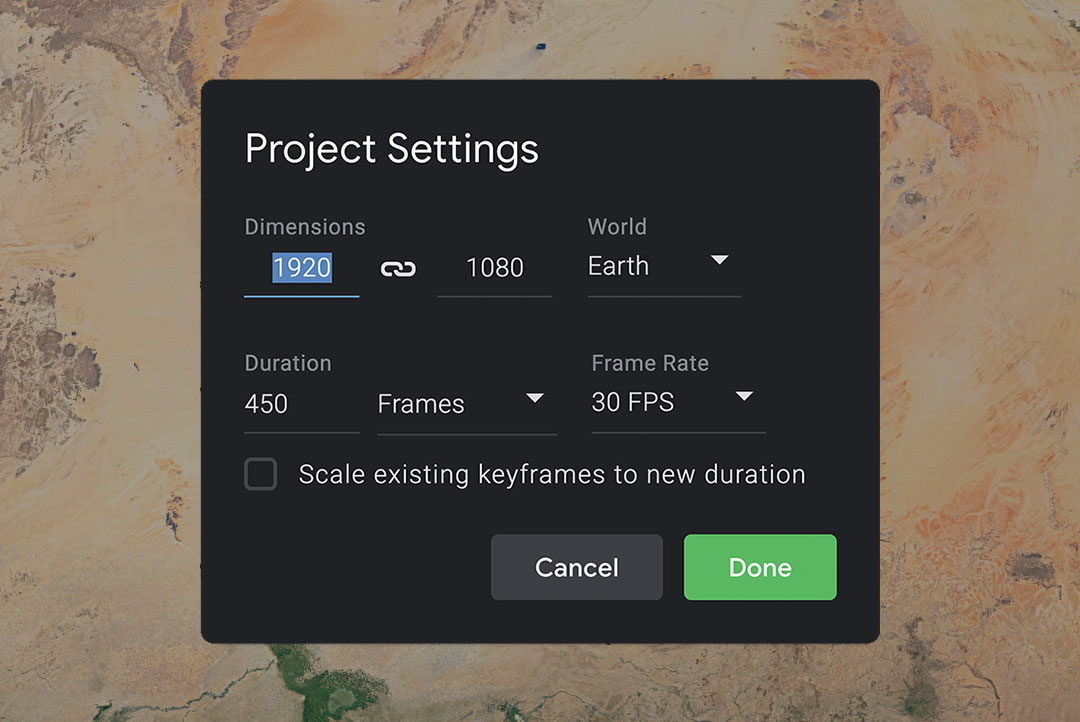
Dimensions
Your output resolution when saving snapshots or rendering a project. When one dimension is changed, Earth Studio will adjust the other to maintain your project's aspect ratio. You can unlock the dimensions by clicking the icon. Earth Studio supports a max resolution of 4096x2304.
World
Earth Studio supports multiple celestial bodies, including Earth, Moon and Mars.
Duration
The length of your project. When changing the length, Earth Studio will simply add or subtract the difference in frames by default. You can scale your existing keyframes to the new duration by checking the corresponding checkbox.
Switching between frames and timecode in the dropdown menu will change the notation in the timeline.
Saving to the Cloud
When you save a project file, it's stored online and connected to your Google account. You'll have access to all of your files from any machine, as long as you're logged in.
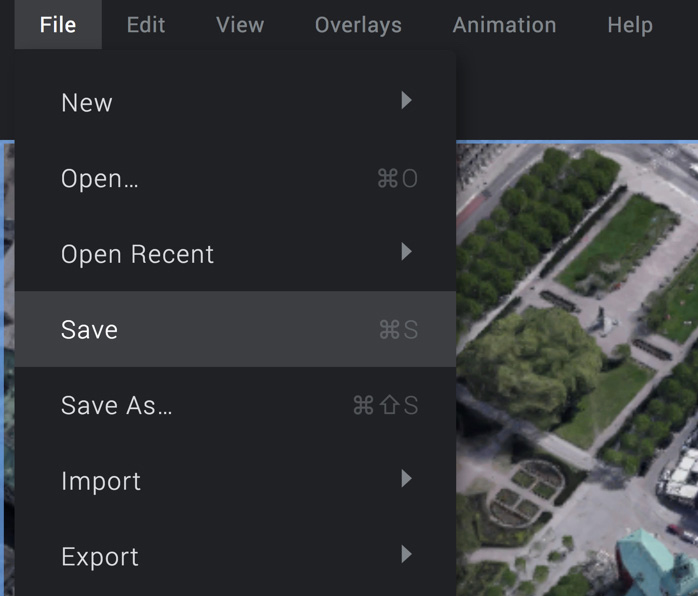
Save and open projects from the File menu, or by using the ⌘S and ⌘O hotkeys.
File Browser
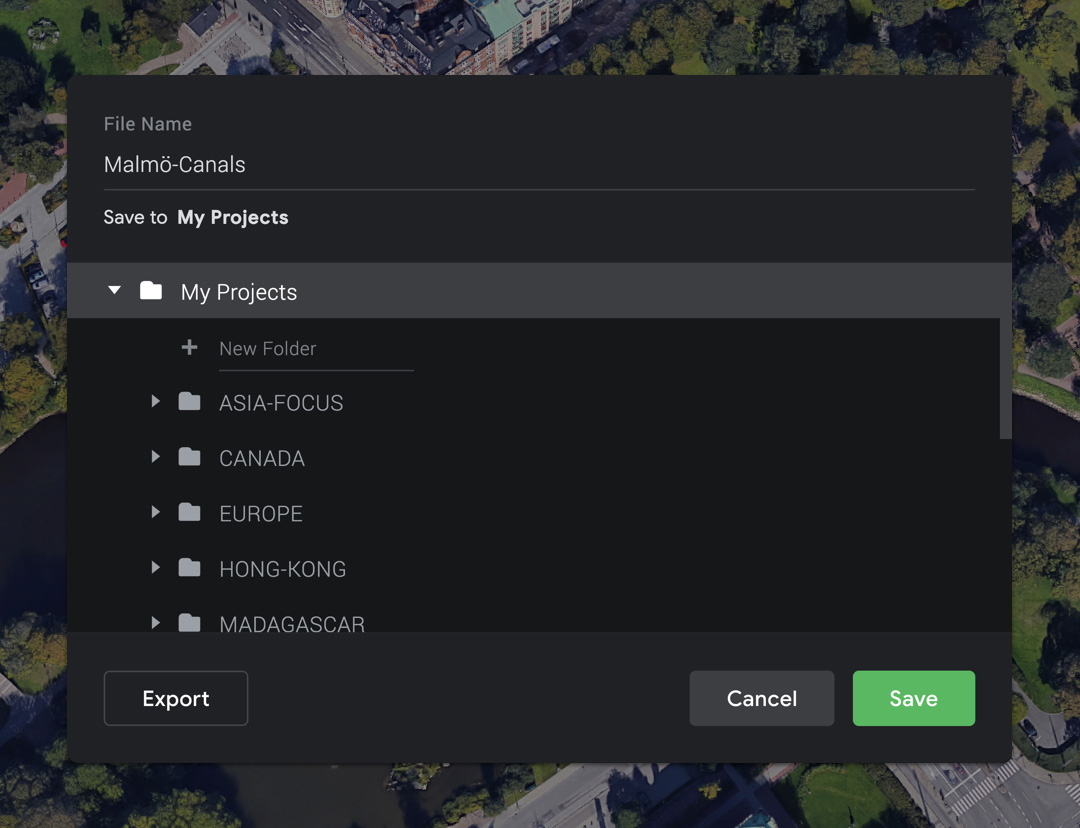
You can manage existing files using the built-in file browser, visible when you save or open a project. By default, files save to the root folder "My Projects." You can create new folders within "My Projects" by typing a name into the New Folder field and hitting Enter. Existing projects and folders can be deleted by using the trashcan icon.
Exporting Projects Locally
Earth Studio uses Earth Studio Project files (.esp) to handle importing and exporting projects. This allows you to save a project locally and share it with collaborators.
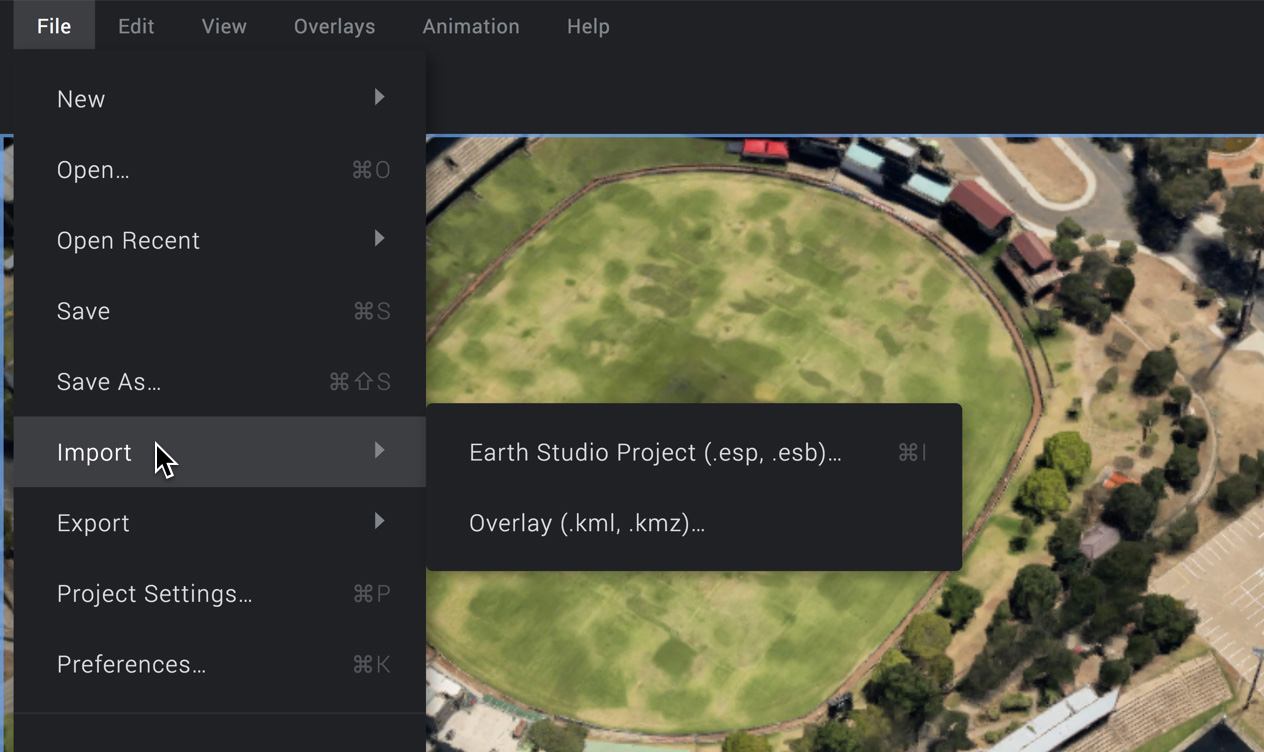
Export your animation as an .esp using the File menu, or with ⌘E. To import an .esp file, simply drag it into the browser. You can also use File > Import, or ⌘I.
External Resources
Earth Studio can also import Overlays (.kml, .kmz), and Earth Studio Bundles (.esb), which are used to bundle Overlays into a project.
When you import a KML or KMZ file to your project, it's stored in a dedicated folder on your Google Drive. Your Earth Studio project keeps a reference to the file on Google Drive so that it can access it the next time you open the project.
However, if you plan to share a project with another user, you'll need to make sure make sure they have access to your KML file on Google Drive.
You can also embed your KML in an exported project by enabling Embed external KMLs in project file in the Export dialog. The resulting file will be an .esb, denoting that it is a bundled project file. Note that .esb will be larger in file size.
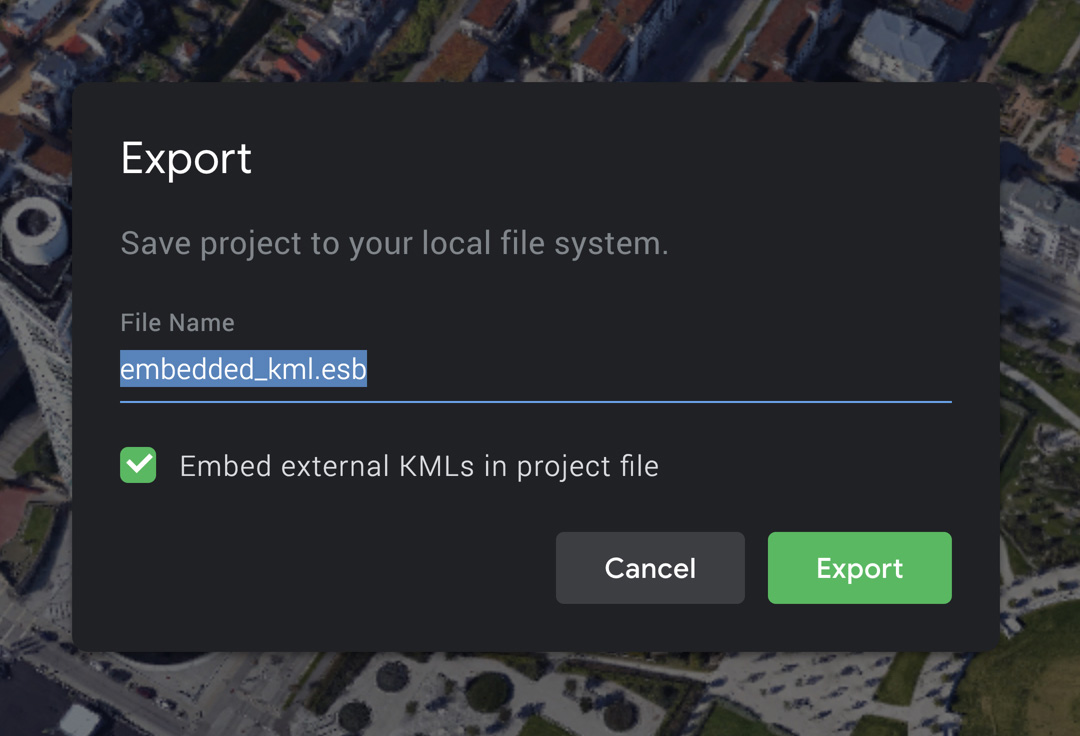
Include any KMLs visible in the original project by exporting it as an .esb file.
Sharing Locations
Earth Studio makes it fast and easy to save and share locations (and even specific camera angles) with collaborators using URLs. Copy your current view to the clipboard as a URL by right-clicking on the Viewport and selecting Copy Location URL, or by pressing ⌘C while the Viewport is focused (outlined in blue).
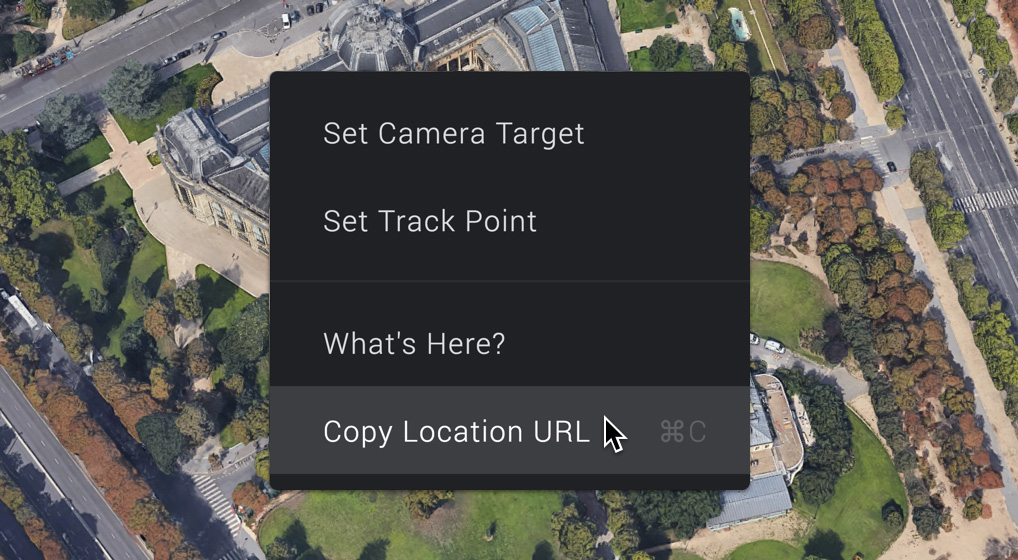
A location URL acts like a standard URL: enter it into the browser to open a new Earth Studio project with the camera set to the saved location. You can also paste a location URL into an existing Earth Studio window by pressing ⌘V while the Viewport is focused.
You can even copy locations directly from Google Maps. Just navigate to the desired location and copy the Google Maps URL from the browser.
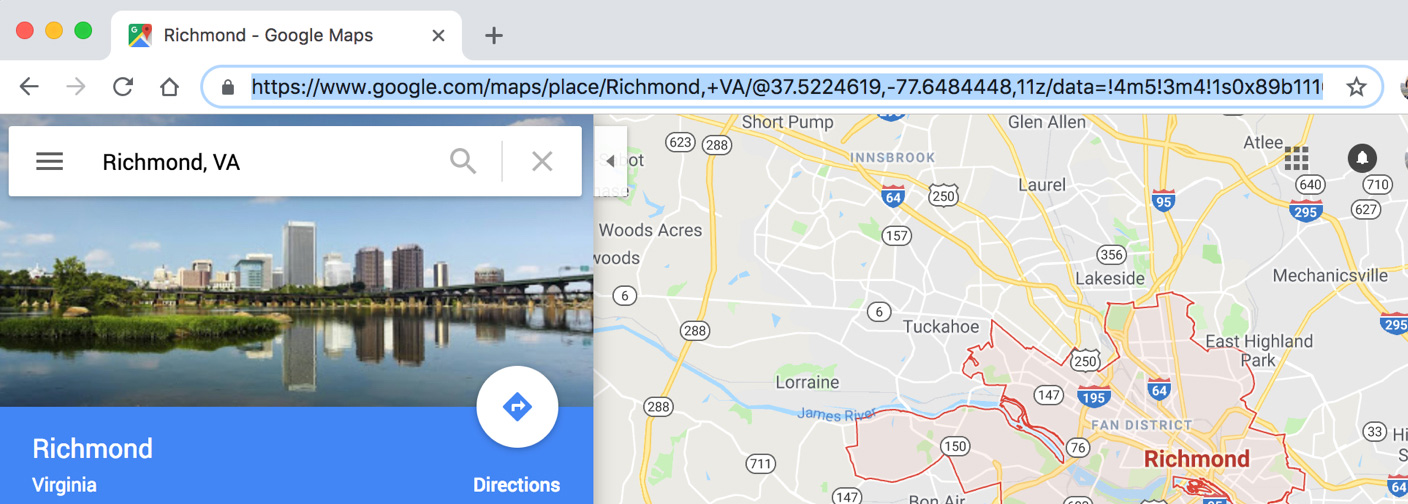
Then. paste the URL into Earth Studio (with the Viewport focused) to navigate directly to that location.