Rendering
Earth Studio offers two different methods to get imagery out of the browser: snapshot for still images, and render for animations.
Single Frame Snapshots
The snapshot button is the fastest way to export still images from Earth Studio. When you take a snapshot, your current view is immediately rendered and downloaded as a .jpg file at the resolution specified in the project settings.
Rendering Image Sequences
For animations, Earth Studio offers a robust client-side renderer. To access render setup, click the render button.
Setting Up
On the left is a preview of your final output, restricted to the frame range of your work area. This is a low-fidelity preview – use it as a rough guideline to double-check that everything in your animation is cropped and moving as expected.
On the right are the render settings, which are covered in depth below. Once you're ready to render, type in your file name and hit start.
Rendering
To render, Earth Studio steps through each frame of the animation and saves it to your local file system. If the render crashes or is abandoned, you can recover your progress the next time you open Earth Studio. Note that render speed is highly dependent on your internet connection. The faster your Internet, the faster your animation will render.
Once all frames are rendered, the image sequence is compiled into a zip and downloaded to Chrome's user-specified download directory. If you've never turned an image sequence into a video, try Adobe Media Encoder or Adobe After Effects.
The entire render process happens in your browser. This means rendering won't work if you quit out of Chrome. To avoid potential rendering problems, Earth Studio must be the focused tab in your Chrome window. If you want to browse the web while rendering, open a new window.
Render Settings
Destination
The local directory on your computer where the rendered project will be saved into. Before the rendering starts the browser will ask for special permission to read and write files to the selected directory on your file system.
The directory only needs to be selected once unless the directory is moved around or removed from your file system.
Frames
The frame range of the project to render. By default, this matches your project's work area.
Dimensions
Change the output dimensions of your render. Aspect ratio is maintained by default, but can be unlinked and adjusted. The preview will update dynamically to reflect the new dimensions.
Unlinking the resize dimensions will result in a totally different crop of your animation. Things might enter the frame that weren't in-frame before, and vice-versa. Resize with caution.
Attribution Settings
Controls where and how attribution displays on your rendered frames. Read more about our attribution requirements.
Export Options
Select elements to export in addition to the rendered footage. Currently supports 3D Camera Export via the Include 3D Tracking Data option.
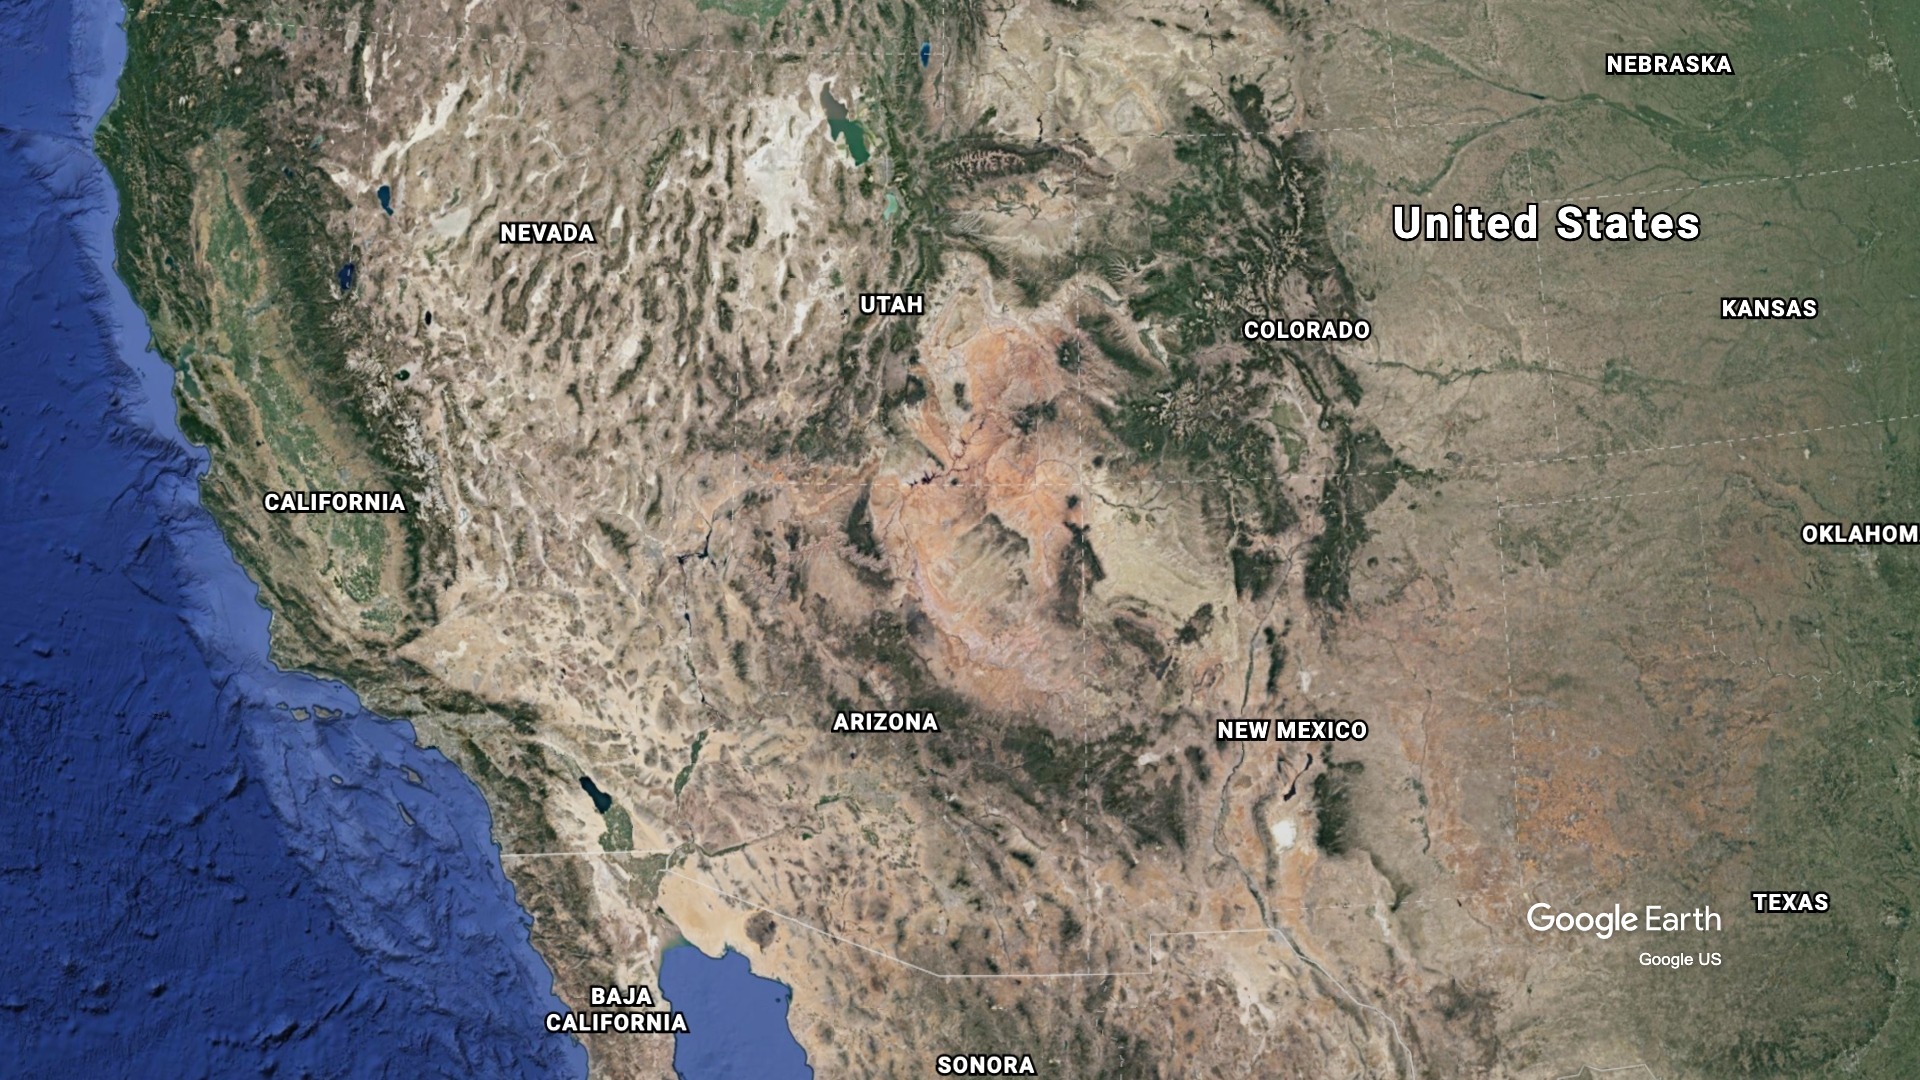
Map Style
Include points of interest, roads, and country/region borders in the final render output. By default, this will be set to the map style that was selected in the timeline view, and can be adjusted here.
Texture Quality
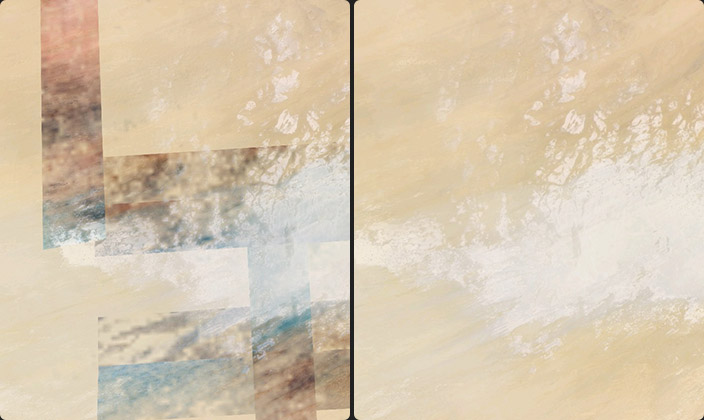
Adjusts the texture and mesh fidelity of your rendered output. Keep this at "High" to ensure you're getting the best possible data.
Be aware that because the "High" quality setting loads the highest possible texture quality at a given location, tiling issues can be revealed when rendering. Try changing the render quality to "Normal" or even "Low" in these situations.
360° Spherical (VR)
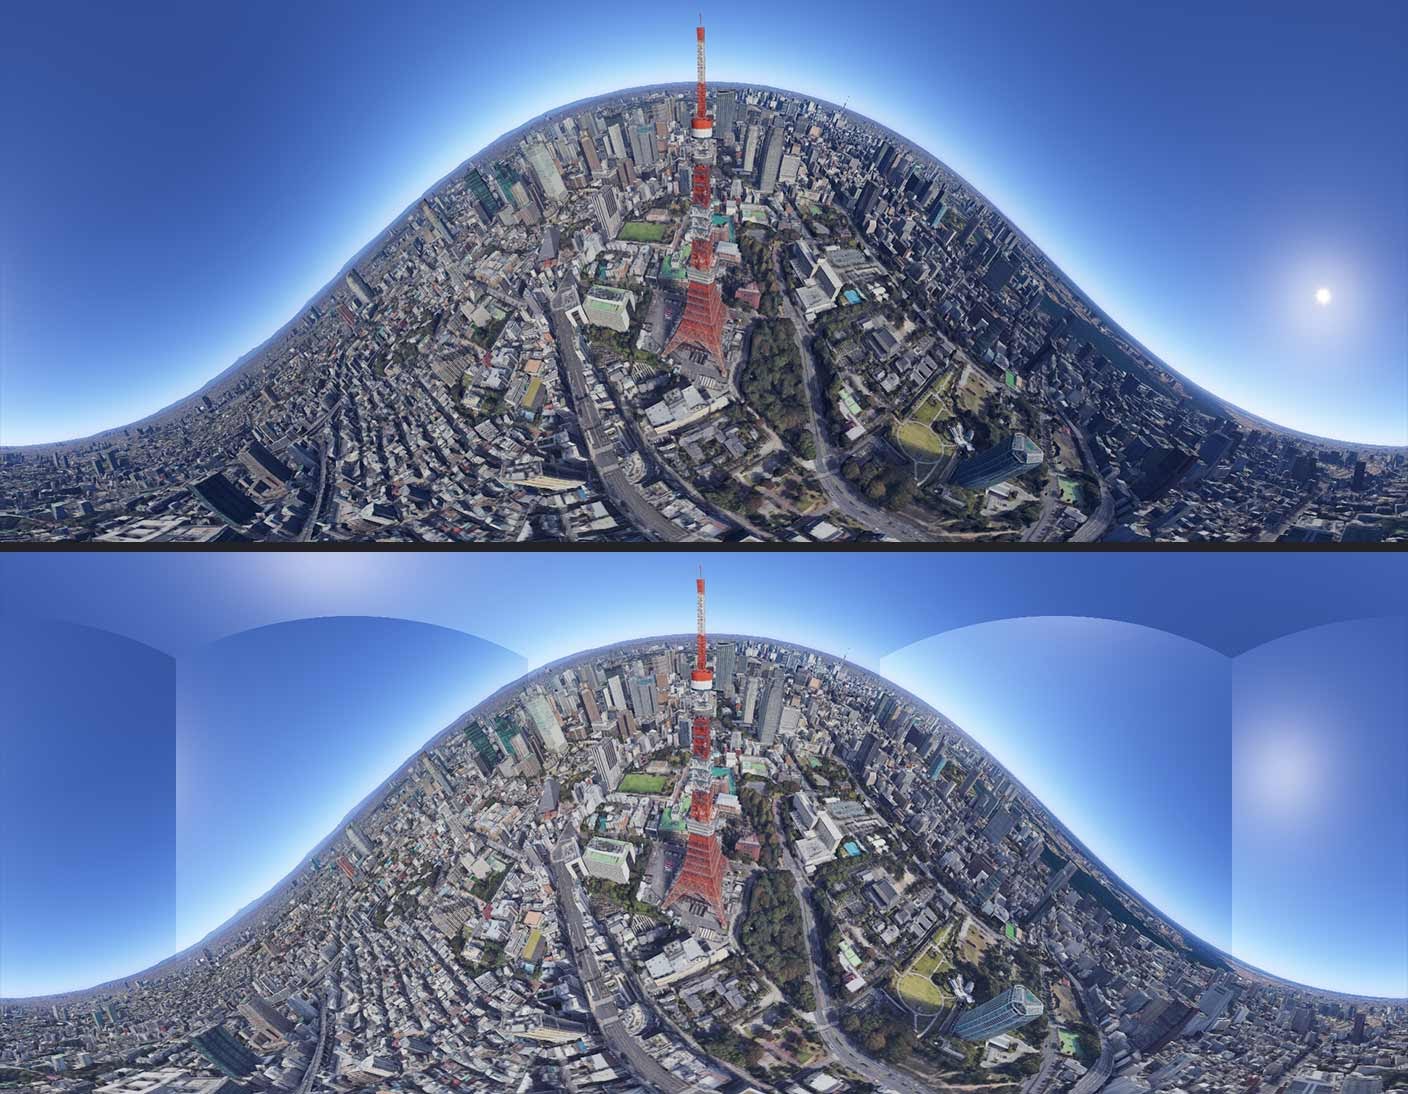
When selected Earth Studio will render a panoramic equirectangular image for use in VR headsets or interactive videos, e.g. on YouTube. Before rendering, make sure to enable the "Time of Day" attribute to mitigate visible seams. See comparison images below. When exporting image sequences for use on YouTube, convert your Image Sequence to video and then make sure you inject metadata that helps YouTube understand your video is supposed to be viewed in 360, using e.g. the Spatial Media Metadata Injector.
Heads up, Map Styles (borders and labels) are not included in 360 Spherical exports.